
FINDS CARE · OBJECT IDENTIFICATION
How to identify a metal detecting button find
Examine a found button's back, shank, face and construction before guessing its age. Record its findspot, photograph details and compare credible records.
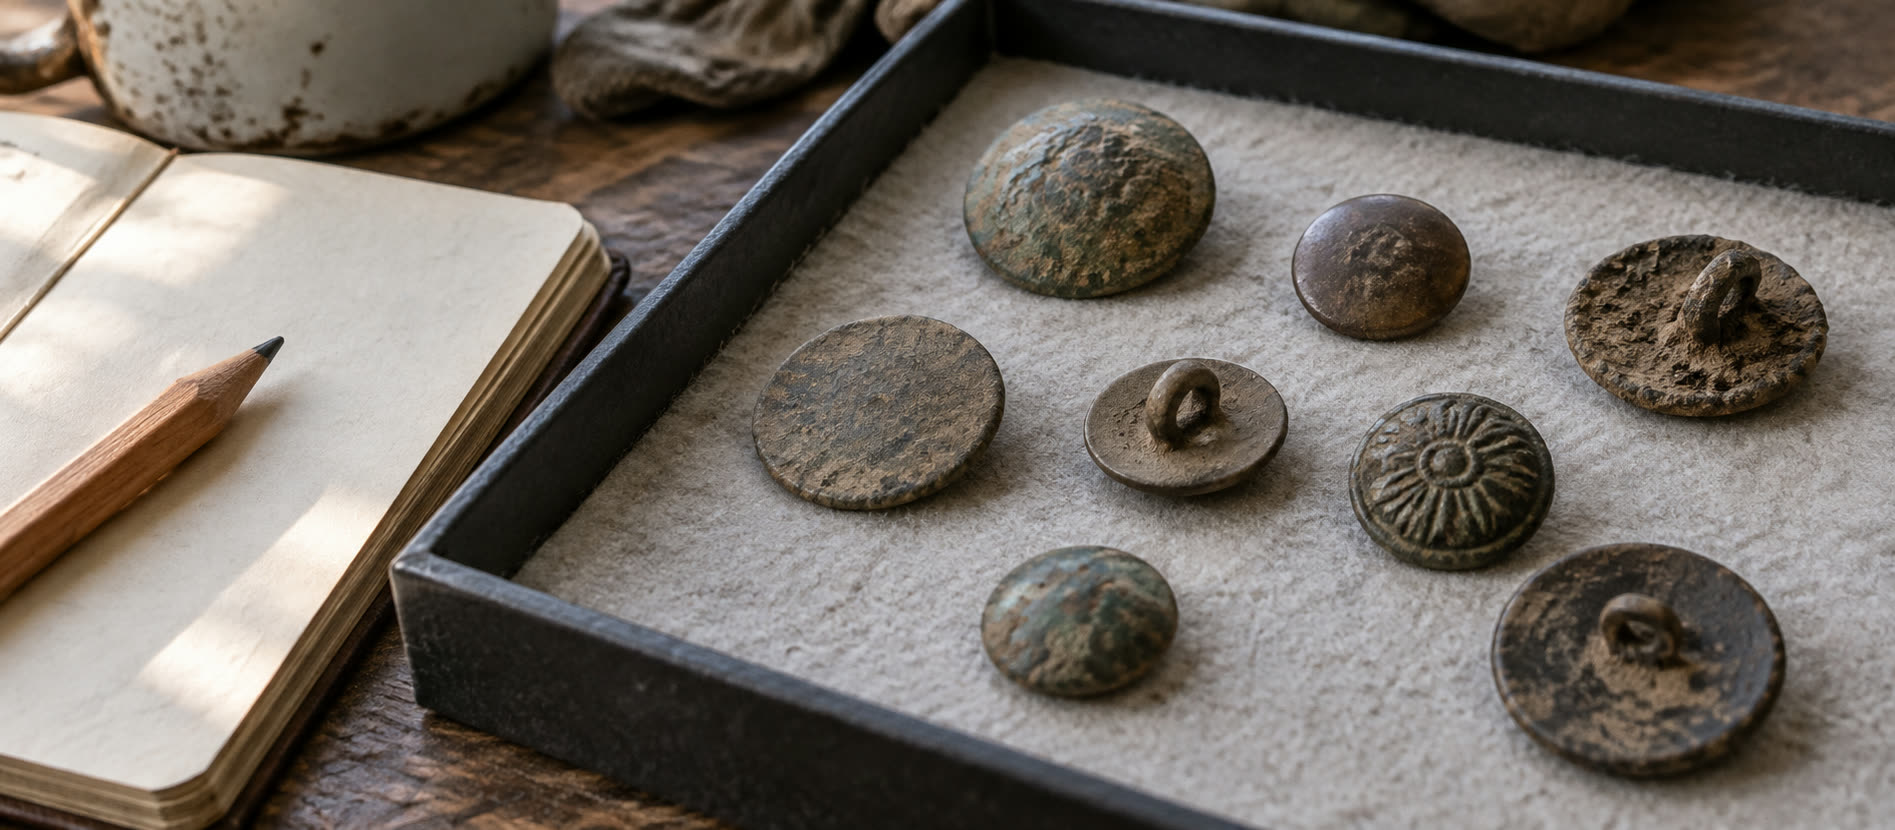
Record whether there is a shank, holes, solder or a broken attachment.
Photograph any legible marks without aggressive cleaning.
Distinguish a tentative identification from an evidenced attribution.
Check that it is a button
A round disc is not necessarily a coin, and a decorated metal face is not necessarily a button. Look for a functional attachment on the reverse: a loop or shank, sewing holes, a rivet-like fastening or scars where one broke away. A separate loop attached to the back can be more diagnostic than the front. Record whether the face is cast, stamped, plain, hollow or built from more than one piece—but if the construction is hidden by corrosion, say so.
Findspot matters. A button from a regularly occupied field, a beach and a modern picnic area may have very different likely histories, yet no setting by itself proves age. Note the precise position under your permission, the soil and whether similar items were found nearby. Keep separate finds separate unless their association was recorded in situ.
Work from back to front
Photograph the back in raking light and look for surviving lettering, a maker's mark, a seam, solder, a shank foot or paired holes. Take an edge view to show the object's profile. Then photograph the face without rubbing away deposits to expose a motif. A maker's mark may narrow a date after independent research, but a partly readable name is not a licence to invent a manufacturer.
Describe what you can actually see: “convex copper-alloy button, loop shank apparently missing, raised five-point motif, 20 mm across” is far better than “Napoleonic military button” on visual impression. If the object could instead be a stud, mount or button-and-loop fastener, state the alternatives. The PAS database records several such object types, including button-and-loop fasteners that differ from ordinary clothing buttons.
Military, livery and everyday buttons
An emblem may invite a military or livery interpretation, but the direction and detail of a design, reverse marks, construction and documented comparanda all matter. Repeated motifs occur on civilian clothing and later reproductions. A crown does not identify a monarch by itself; an anchor does not prove a naval origin. Treat a stamped number as a clue to investigate, not a unit attribution.
If you find several matching buttons, number them separately with their findspots before asking whether they form a pattern. Field scatter can be redistributed by ploughing. A supposed uniform group needs evidence beyond identical decoration. Our field log explains session mapping; the grouped-finds guide covers a true close association in one context.
A five-minute button record
- Photograph the findspot, give the object a unique number and keep the exact location private for an appropriate recording professional.
- Photograph face, reverse and edge with a metric scale, using diffuse light rather than polishing the metal.
- Write down diameter, thickness, metal as an observation rather than a lab result, attachment type and any readable marks.
- Keep the object individually labelled. Never scrape a corroded shank to see whether it opens.
- Search a few trustworthy records for matching construction, not only a similar image. Note any uncertainty and send images to your local FLO if it may be archaeological.
The photography guide covers useful diagnostic views, while should-you-clean-finds explains why the apparent dirt may be important surface evidence.
A pair of compact pods is useful for keeping an ordinary button and another small find apart in the field. The listing does not establish conservation-grade materials or moisture control. Transfer anything damp, delicate or potentially recordable to an individually labelled arrangement appropriate to its condition, seeking specialist advice where needed.
Ask for a second opinion with the whole record
Send clear front-and-back images, measurements and the precise private findspot through the route your recording contact requests. Share a tentative description and the PAS record IDs you compared; that helps a specialist see your reasoning. The Portable Antiquities Scheme is a recording system for archaeological finds in England and Wales, not a guaranteed instant identification service. Possible Treasure follows separate legal reporting requirements, and Scottish and Northern Irish finds have different routes.
Common questions
Frequently asked questions
What is the most useful part of a found button to photograph?
Both faces matter, but the reverse often shows the shank, construction or maker's mark. Add an edge view and metric scale.
Does a crown or anchor mean a button was military?
Not by itself. Similar motifs can appear on civilian and later objects. Check construction, reverse marks and credible comparanda before proposing an attribution.
Can I scrape a button to read the maker's name?
Avoid scraping or aggressive cleaning. Better lighting and close photographs are safer first steps; seek advice for a significant or unstable find.
Should matching buttons from one field share one find number?
No. Give each object its own number and precise position, then note any possible relationship separately.
Helpful products
Carry different buttons separately
Small field pods help keep robust buttons apart until they can be numbered and photographed; do not pack fragile surfaces together.

Two compact finds pods
Searcher Finds Pod Two Pack
Best for: A minimal field kit that needs a pair of separate small-find containers.
- Two pods
- Small-find separation
- Compact field carry
A two-pack of small finds pods for keeping separate small ordinary finds from loose debris during a session.
Know before buying: The product listing says contents are not included; check the current listing for exactly what is supplied and do not presume archival suitability.