
STARTING OUT · LEARN THE MACHINE
A beginner's metal detector practice plan
Learn your first metal detector with six focused sessions covering setup, repeatable signals, sweep control, recovery, ground changes and honest notes.
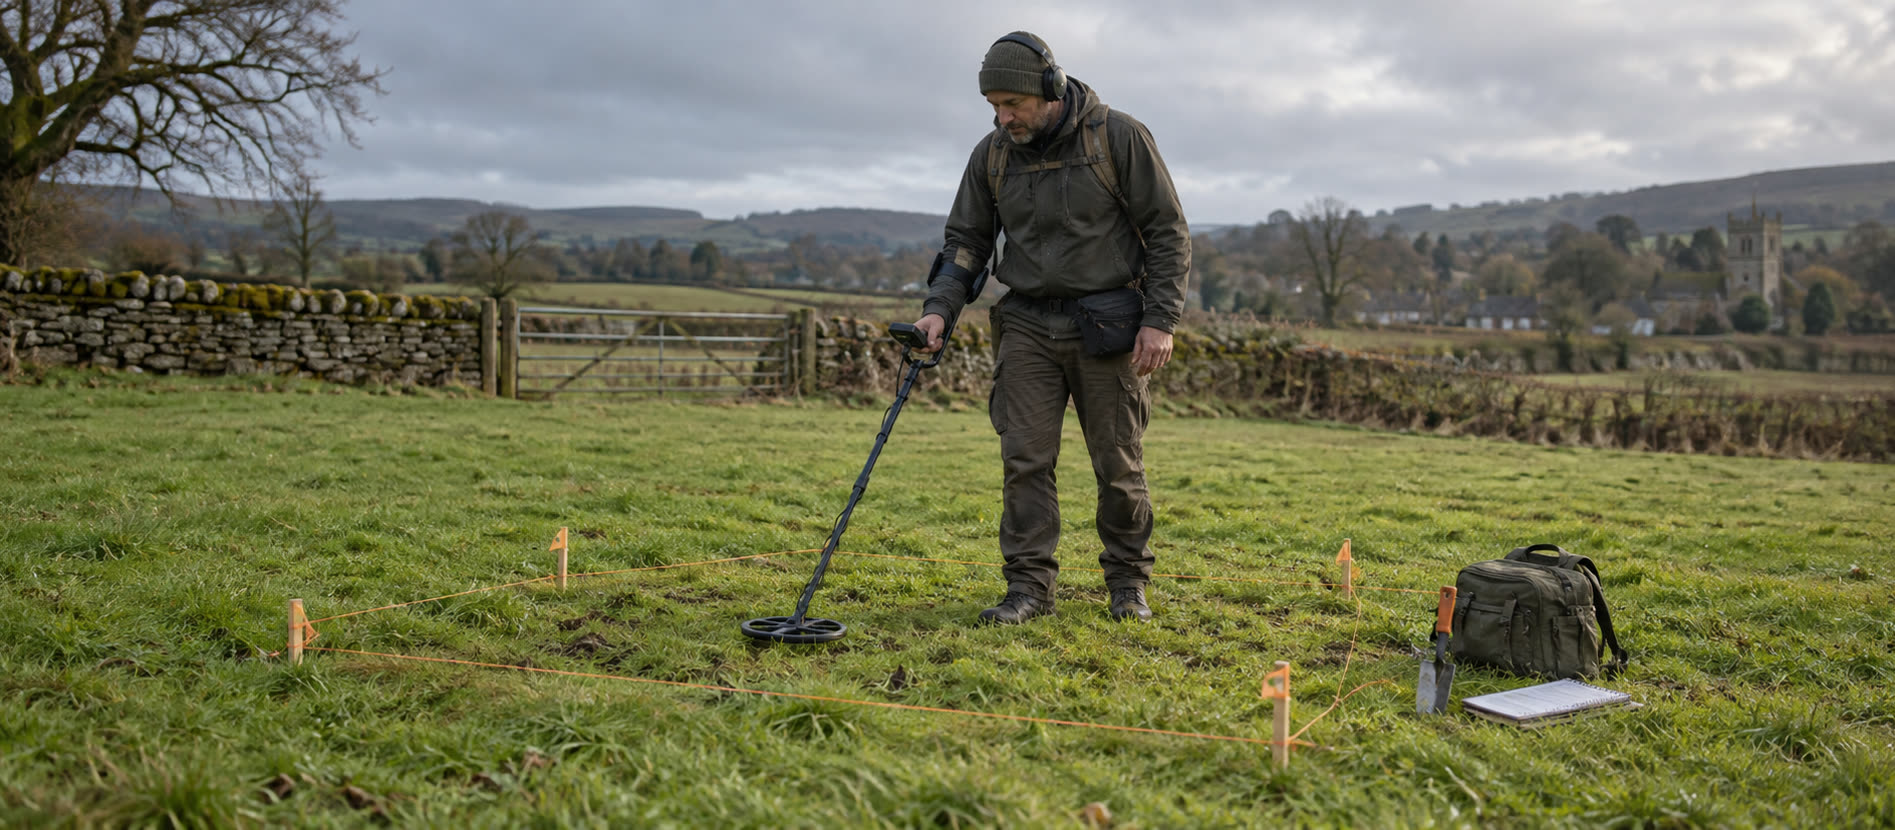
Begin with known safe objects on a mat.
Move to permitted ground with a steady sweep.
Log what a setting changed and what stayed uncertain.
Before session one
Read the manual for your exact detector, fit the shaft, charge or install batteries and check that the coil cable and connector are secure. Choose a simple factory field or park mode, moderate sensitivity and normal audio. Avoid changing several settings at once: you need a stable baseline to recognise what improved. The setup guide walks through assembly and first switch-on.
Use a safe garden surface for known-object exercises, or a site where the authorised owner has allowed detecting and recovery. Do not bury test objects in someone else's land. Record the model, coil, mode, sensitivity and ground conditions in a small field log.
Session 1: hear known objects
Place a modern coin, iron nail and ring pull separately on a non-metallic mat, away from reinforced floors and electrical clutter. Sweep each at a consistent height in two directions. Listen first, then note the target ID range rather than memorising one “correct” number. Keep small objects away from young children. An air or surface test teaches controls; it does not predict buried depth, as our air-test explanation makes clear.
Session 2: move the coil consistently
On a permitted, clear patch, walk a short line with the coil low and level. Overlap sweeps and avoid lifting at the ends. Mark a small rectangle and cover it slowly once; do not race for more ground. Note any signal that repeats from more than one direction. Our swinging guide shows how coil height and overlap affect missed targets.
Session 3: decide whether to dig
For each signal, write down tone, repeatability, target ID range and whether nearby iron changes it. Recheck from another angle and move slightly away from visible metal. Choose a few safe, permitted targets to recover; do not dig every whisper. Compare what you predicted with what actually emerged. The first-signals guide and target-ID guide explain why the screen is a clue rather than identification.
Session 4: recover and restore neatly
Before cutting a plug, confirm recovery is allowed at that spot and consider turf condition. Pinpoint with the main detector, cut only as needed, keep spoil together and check the hole and removed soil. A handheld pinpointer can reduce widening the hole. Use gloves and never handle suspected ordnance; follow dangerous-finds guidance. Restore the plug, take safe rubbish away and record the position of anything meaningful.
Session 5: learn one adjustment
Revisit similar ground and change just one control: perhaps sensitivity down one step if the detector is chattering, or ground balance if the manual provides it and the soil is difficult. Write down the before-and-after behaviour. Do not interpret a quieter machine as necessarily deeper or better; it may simply be rejecting information. Read sensitivity settings and ground balance before adding more changes.
Session 6: repeat a short route
Search a permitted patch you have already covered, using the same method and notes. New signals can reveal gaps in coverage or changed conditions, not magic depth. Compare your signal decisions, hole quality and records with session two. Identify one skill to practise next: iron interpretation, accurate pinpointing or careful find recording. Progress is a calmer decision process, not a tally of valuables.
Common questions
Frequently asked questions
How should I practise with a new detector?
Begin with known safe objects and one factory mode, then practise a level overlapping sweep and repeatable signals on permitted ground.
Do air tests show how deep the detector will find coins?
No. Air tests help you learn controls but do not reproduce soil, moisture, target orientation or nearby iron.
When should I change sensitivity or ground balance?
Establish a stable baseline first. Change one setting for a clear reason, then record whether signal quality improved on the actual ground.
Do I need a pinpointer immediately?
Not necessarily. Learn the main detector's pinpoint method first; add a handheld pinpointer if locating targets in plugs or spoil is slowing careful recovery.
Helpful products
Add a pinpointer when recovery slows learning
A pinpointer helps locate ordinary targets in a plug or spoil, leaving more time to study the original detector signal.

Premium pinpointer
Garrett PRO-Pointer AT
Best for: Regular inland, beach and shallow-water detecting where simple controls and a robust waterproof body matter.
- 11.5 kHz
- Whole pinpointer to 6 m (IP68)
- 200 g with battery
A highly visible waterproof probe with three sensitivity levels, proportional audio and vibration, fast retune and a 360-degree detection area.
Know before buying: One button handles power, retune, sensitivity and silent mode, so the control sequence takes a little practice. It uses a replaceable 9V battery.