
STARTING OUT · GROUP FIELD DAY
Your first organised metal detecting dig
A beginner's plan for a UK metal detecting club dig or rally, from organiser checks and equipment to briefing, recording finds and leaving the field.
Ask about access, exclusions, facilities and finds terms before travelling.
Pack a charged detector, permitted digging tool and labelled containers.
Leave time at the end to reconcile finds and check your holes.
A few days before: check the event, not only the postcode
Ask for the exact meeting point, start and finish, field boundary, parking plan and cancellation method. Check who can authorise detecting and digging, whether a tenant or occupier is involved, and what heritage exclusions the organiser has mapped. Ask whether the event is a small club outing or a larger paid rally; fees, refunds and facilities differ. The organised-digs guide lists the questions that distinguish a responsible plan from an attractive poster.
Read the finds ownership arrangement and what to do with possible Treasure or a grouped archaeological find. Do not assume “finders keepers,” and do not assume insurance held by an organiser covers each participant. Check your own cover, any event requirements and exclusions. If you are new, say so: a clear briefing and an experienced contact matter more than another field on the map.
Pack for the actual ground
Charge the detector and pinpointer; take a suitable spade or trowel permitted by the organiser, spare power arrangement if your model needs it, water, food, weather layers, gloves and a phone or notebook. Pack a rubbish compartment, a few individually labelled containers, pencil and a metric scale. Use the equipment checklist and detector setup beforehand, not in the parking queue.
If the day involves pasture, ask how plugs should be cut and replaced. On stubble, check crop residue and vehicle restrictions. A landowner may set recovery-depth or no-dig areas even outside protected designations. A lightweight kit that lets you kneel and walk safely beats a crowded belt of unfamiliar accessories.
At the gate: listen and mark boundaries
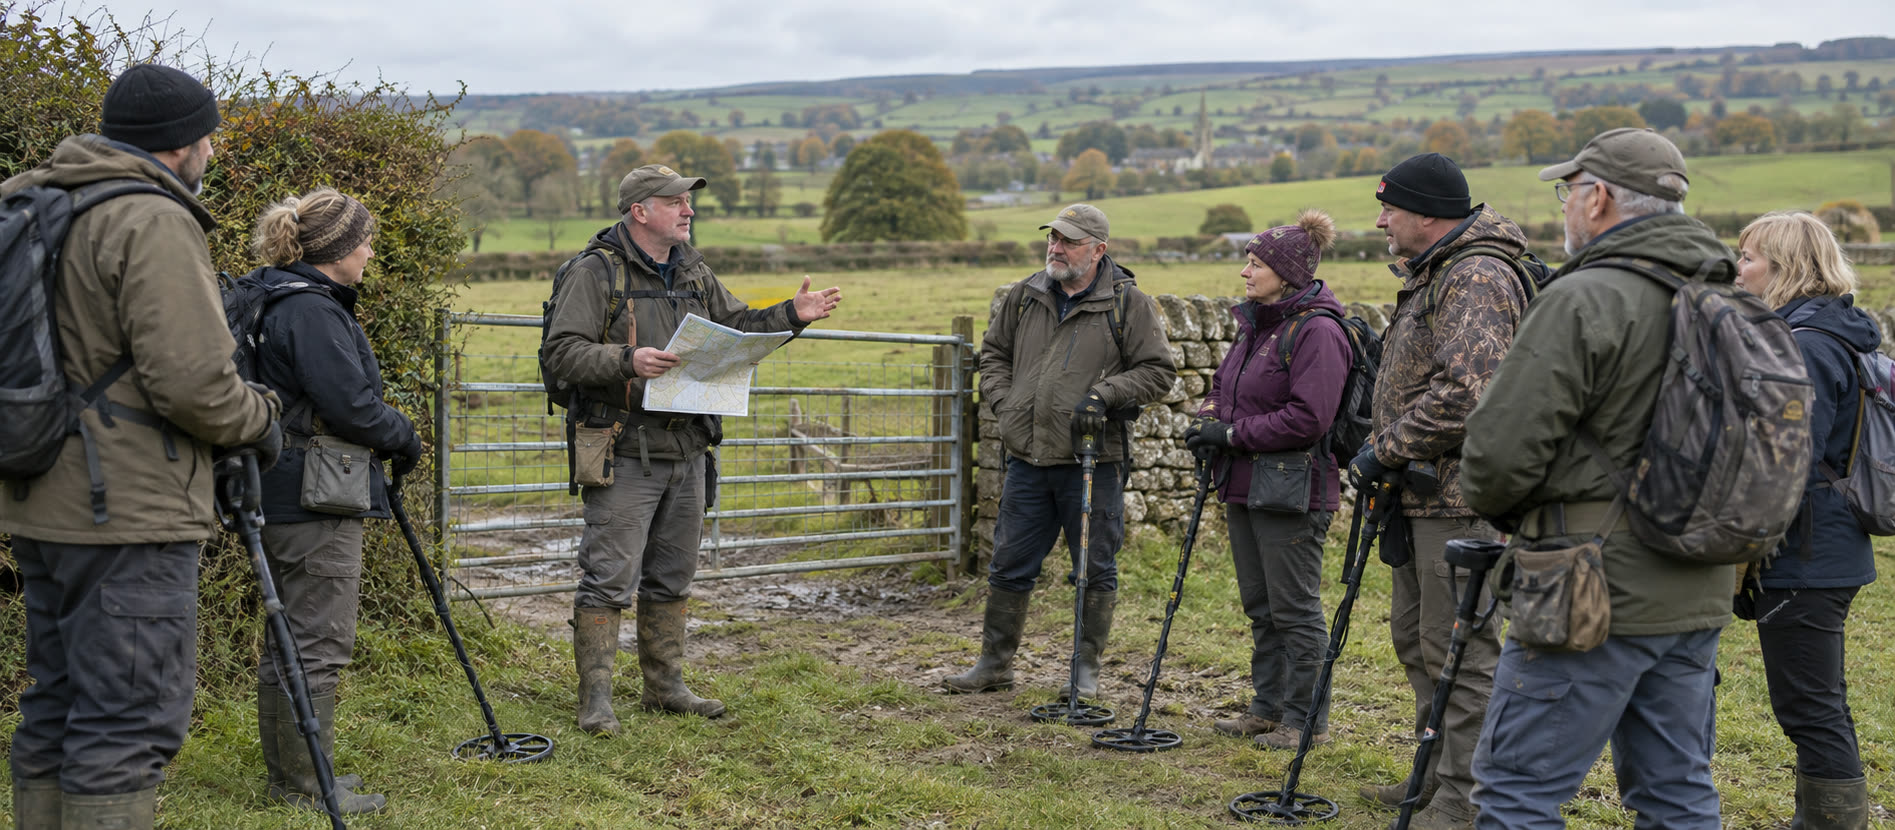
Arrive in time for the briefing. Record the organiser's emergency contact, field names, exclusion map, access route, livestock and crop rules, hole-restoration standard, finds check-in method and finish time. Do not cross a hedge because another detectorist appears to be searching there. If a map is unclear, ask before switching on. Scheduled-monument and other statutory restrictions remain separate from the host's permission; see scheduled sites.
Begin with a stable familiar search mode and moderate sensitivity. Test one safe signal and a tidy plug rather than trying every setting. First signals explains the repeatable checks. Keep distance from other coils, mark your own coverage and avoid crowding someone else's hole.
When you find something
For an ordinary safe object, photograph the position, record its precise private coordinate, assign a number and keep it separate. Note the field and approximate depth. Do not hand a loose find to the organiser without its record. A small session log helps reconcile the day; recording a find covers the individual object.
If a suspected archaeological group, feature, human remains or hazardous object appears, stop. For possible ordnance, leave it and move away; follow the dangerous-finds safety rule. For a concentrated group, do not enlarge the hole or summon a crowd to dig; contact the organiser and relevant professional as directed. The event's prize or showcase rules never override legal reporting.
A simple pouch is a useful outer carrier for ordinary finds and rubbish on a long walk. Keep small recordable items in their own labelled rigid containers so that position and object remain linked when the pouch is emptied.
Leave the field as carefully as you entered
Finish with enough daylight to check and restore holes, remove scrap, count containers against notes and follow the check-out procedure. Record any item handed over and to whom. At home, back up original photos and positions before they blur into the next outing. If the experience was confusing, group-dig etiquette helps turn the next one into a calmer, more considerate field day.
Common questions
Frequently asked questions
What should I bring to my first group dig?
Bring a charged familiar detector, permitted recovery tool, weather protection, water, a phone or notebook, a rubbish pouch and separately numbered finds containers.
Can I arrive after the briefing?
Ask the organiser first. The briefing contains boundaries, exclusions, safety and finds rules that you must understand before searching.
Who keeps finds from an organised dig?
Follow the written landowner and event terms, while preserving legal reporting obligations. Do not assume the person who dug an item automatically owns it.
What if I cannot identify my first find?
Record its exact position and context, photograph it safely and keep it numbered. A cautious description is better than an unsupported identification.
Helpful products
Give small finds a protected place
A compact pouch helps keep ordinary recovered material off the ground; add individually numbered rigid containers for anything delicate or recordable.

Compact branded pouch
Minelab Finds Pouch
Best for: Detectorists who prefer a small, uncomplicated pouch and already carry a separate finds box for delicate objects.
- Hip-mounted finds storage
- Lightweight shell construction
- Compact field format
A compact waist pouch intended to keep ordinary finds and small tools at the hip, with a lightweight format that is easy to add to a basic field kit.
Know before buying: The shell pouch is not a substitute for individual bags, labels or a rigid box when precise findspots and fragile surfaces need protecting.