
Technique · SIGNAL CONTROL 31
Metal detector discrimination settings explained
Learn what metal detector discrimination accepts and rejects, why high settings can hide good targets, and how to build a safer field pattern.
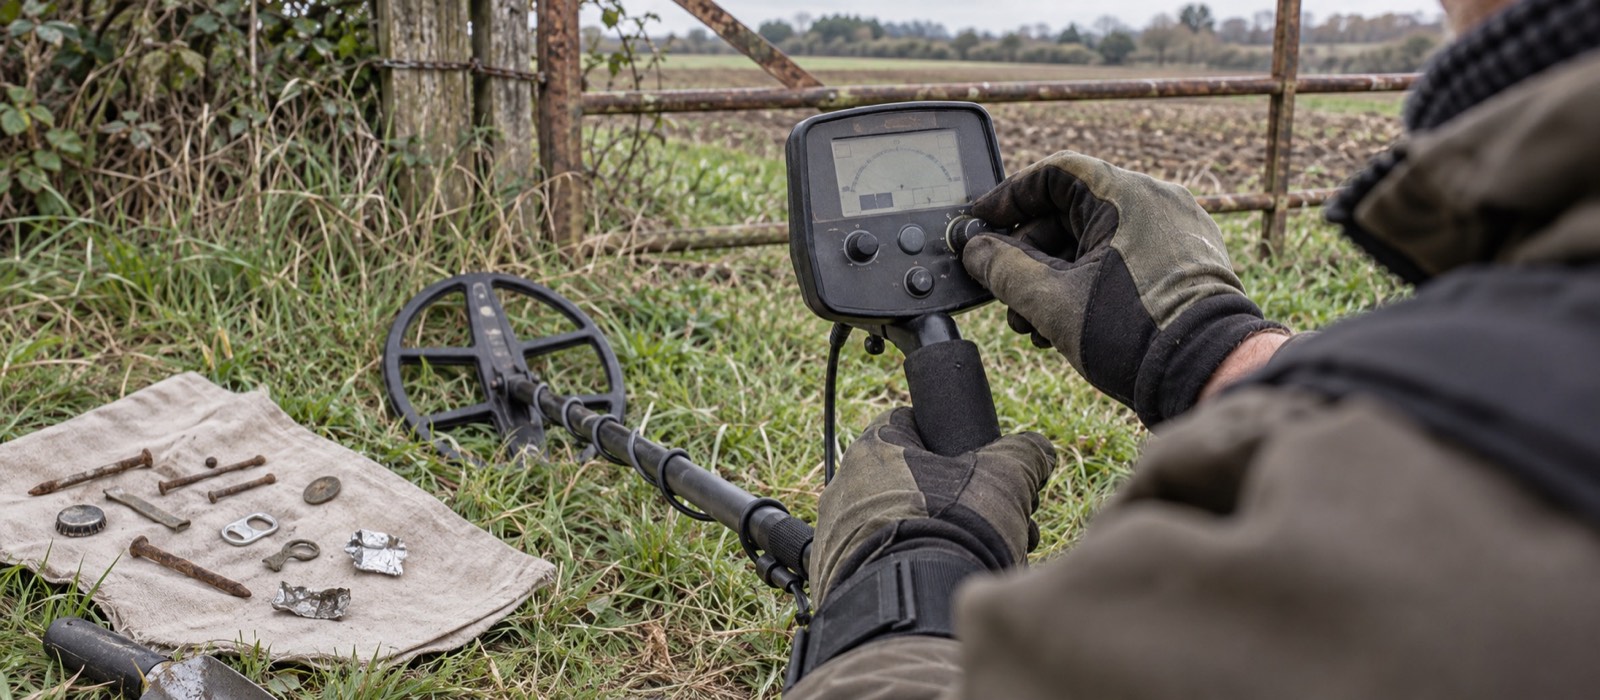
Discrimination and target ID are related, but neither identifies an object with certainty.
Heavy rejection can mask small or partly obscured non-ferrous targets beside iron.
Compare each doubtful response from two directions and periodically check it in all-metal mode.
What discrimination actually does
Discrimination tells a detector which parts of its response scale should produce an accepted signal. Depending on the model, a rejected response may become silent, broken or a different tone. Garrett's definition of discrimination describes it as the ability to reject one target response and accept another based on metallic composition; Minelab manuals describe editable patterns made from accepted and rejected target-ID segments.
The key word is response. The detector has not seen the object. It has measured an electromagnetic signal affected by metal composition, size, shape, depth, orientation, corrosion, soil and nearby targets. A ring, pull-tab and piece of folded foil can overlap. A nail beside a coin can pull the combined response toward iron.
Discrimination, target ID and tones
Target ID is the number or segment assigned to the measured response. Discrimination decides whether that part of the scale is accepted. Tone settings decide how an accepted region sounds. These are three related controls, not synonyms.
An all-metal or zero-discrimination check opens the pattern so rejected IDs can be heard. It does not remove ground balance or sensitivity settings, and on some detectors “all metal” may be a separate operating mode with different behaviour. Use the manual for the exact machine.
Why maximum rejection loses information
A wide notch can silence an obvious nuisance target in a test, then silence a desirable object whose response changes in real ground. Deep targets often give less stable IDs. Targets on edge can move between segments. Two close objects can be processed as one broken response.
Dense rejection also changes the rhythm of a site. Long silent gaps can hide the iron pattern that tells you where previous activity was concentrated. Experienced detectorists often keep iron audible at a low, non-fatiguing level instead of removing it completely.
A conservative starting pattern
Choose the factory Park, Field or Beach profile that matches the surface. Run noise cancel if the detector provides it, ground balance as the manual recommends, and set sensitivity to the highest stable level rather than maximum. Then:
- Begin with the default pattern or broad acceptance.
- Sweep ordinary coins, foil, a pull-tab and several iron shapes on clean ground.
- Listen from two directions and note response width as well as the ID.
- Reject only the narrow nuisance region you can demonstrate repeatedly.
- Recheck uncertain field targets with the pattern opened before walking away.
Do not copy a foreign coin chart without testing UK targets. Even a chart for the same model cannot reproduce your soil, target angle or nearby iron.
Iron discrimination
Small nails often give a recognisable ferrous response, but bent, rusted and ring-shaped iron can produce a high tone at the edge of the coil. Sweep through the centre, rotate a quarter turn and shorten the pass. A response that appears only at one coil edge is less convincing than a compact signal that repeats through the centre from two directions.
Increasing iron rejection may make a modern park more pleasant. On a historical field it can hide weak non-ferrous targets close to iron. Use the lowest level that lets you work accurately without audio fatigue.
Notch discrimination
Notching rejects a chosen band inside the accepted range. It can be useful where one modern nuisance item is overwhelmingly common, but it is risky when the unwanted item shares conductivity with jewellery, thin hammered coins or irregular copper-alloy finds.
The Garrett ACE 300i is a straightforward example with five modes and notch-discrimination controls. Its display can help a learner see accepted regions, but the waterproof coil does not make the control box submersible and the scale still cannot promise an identification.
Useful patterns for common UK ground
On pasture, use modest iron rejection and listen for repeatable non-ferrous responses. On cultivated fields, keep the pattern relatively open because target orientation and nearby iron vary. On modern parks, a slightly tighter pattern can reduce fatigue, but only where permission allows detecting and digging. On beaches, begin with the correct Beach profile before editing discrimination; instability from salt is not solved by rejecting more IDs.
If the detector chatters even when the coil is still, work through the electrical-interference checklist. If the noise appears only as the coil touches vegetation or changes height, use the false-signal guide.
Judge the signal before the object
A practical dig decision combines repeatability, centre, tone shape, target width, depth estimate and site context. Discrimination is there to manage information, not replace judgement. On a new permission, recover a representative sample of rubbish and uncertain signals; the finds teach you what the site's responses mean.
Common questions
Frequently asked questions
Can too much discrimination hide good targets?
Yes. Desirable objects can share response ranges with foil, pull tabs or iron-affected signals. Heavy rejection may also break up a good target positioned close to unwanted metal.
Is iron volume the same as discrimination?
No. Discrimination can reject a response, while iron volume usually changes how loudly accepted iron is heard. Keeping quiet iron information can help interpret a complicated target.
What discrimination setting should a beginner use?
Start with a mild factory pattern or minimal rejection and dig a range of repeatable signals. Increase discrimination only after learning what the detector's tones and IDs mean on that site.